
The Top Floor
/...Then there was three, the final unit!
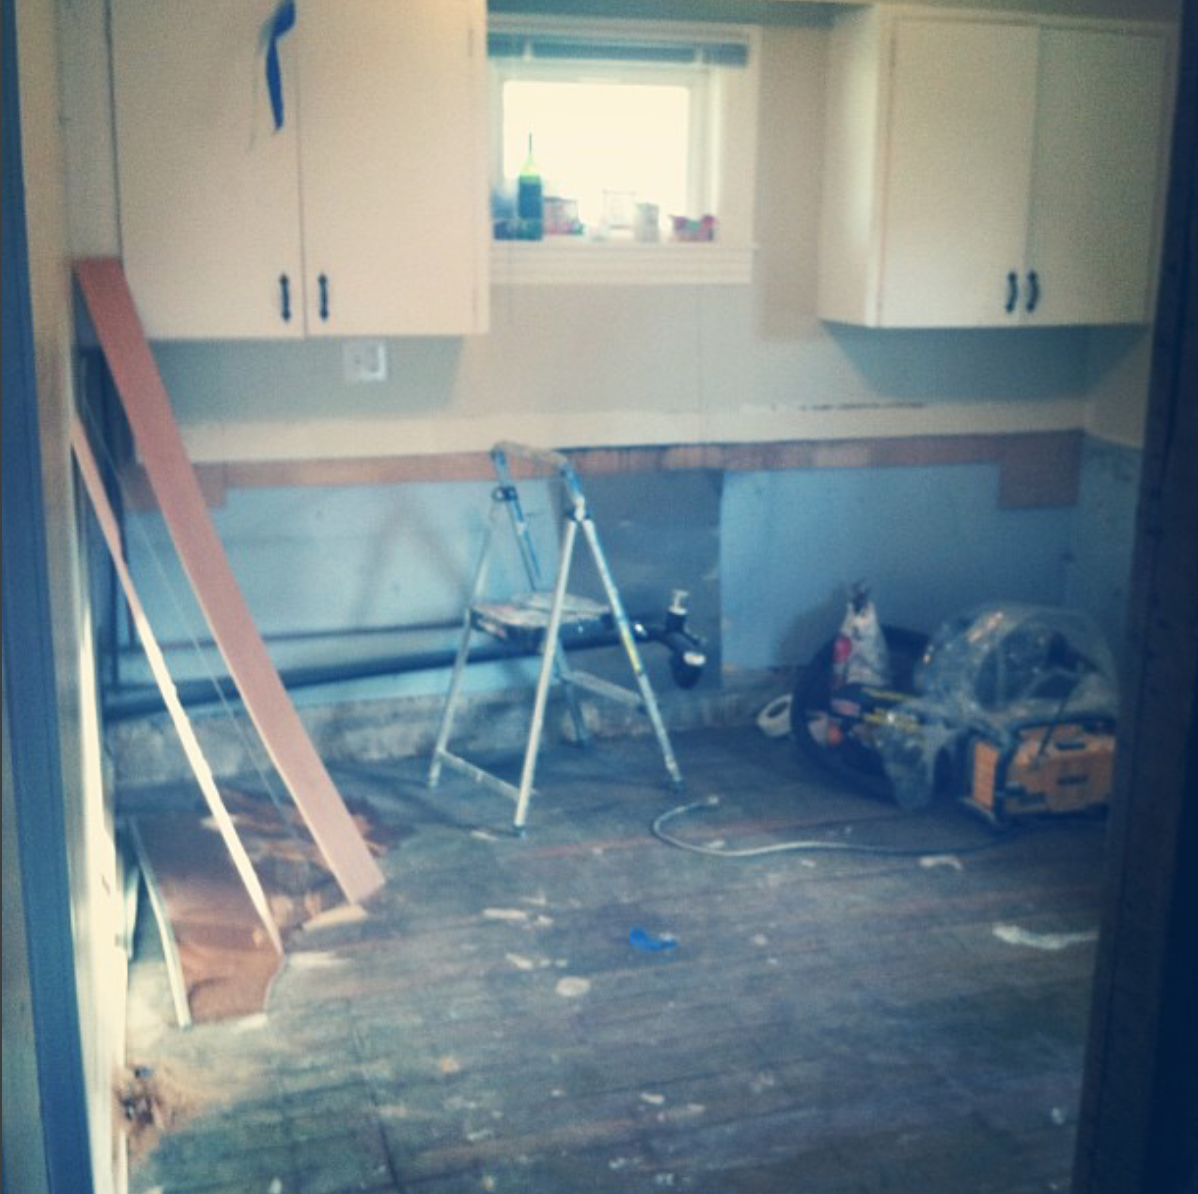
After the first flood, Pahl and I moved to San Diego. Then one day I got a call from Rachael and Jared (who lived in the basement bungalow) saying that there was a heavy stream of water coming down from the ceiling. My stomach sank, obviously. I called the same people that came out the first time immediately. Guess where it was coming from... AGAIN... Yup, the top floor. So this time she flooded her bathroom again, the middle floor kitchen again, and now the basement ceiling and floor. We literally had brand new drywall and flooring being ripped out and every one of our tenants effected. So frustrating.
At this point the tenant was renting month-to-month after resigning her lease with us a little over a year before. After this second insurance claim, we were advised to give her notice so we could focus on the remodel and getting a more responsible tenant at a higher priced lease agreement. We took that advice. I talk more about the first flood in my last post 'Pug Central Station' if you want to know more but I skipped the details on this unit.
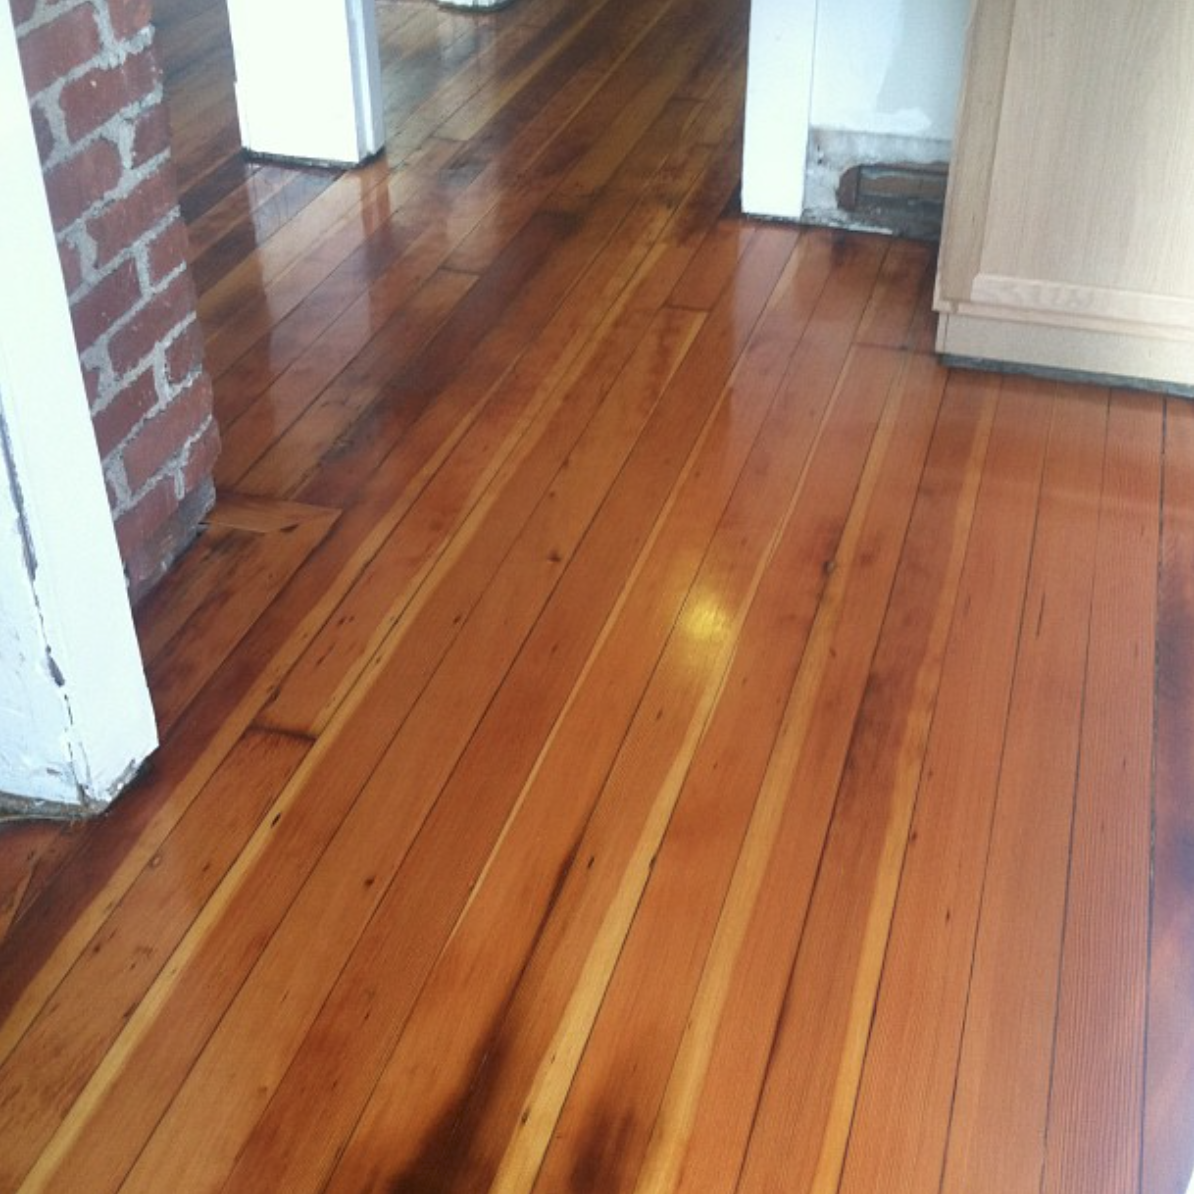
When that occurred the laminate floors in this unit were warped and needed to be replaced, we discovered the most beautiful Douglas fir floors that had not been used in yeeeears. We redid the hardwoods in this unit because the house needed it. It was begging for more charm.
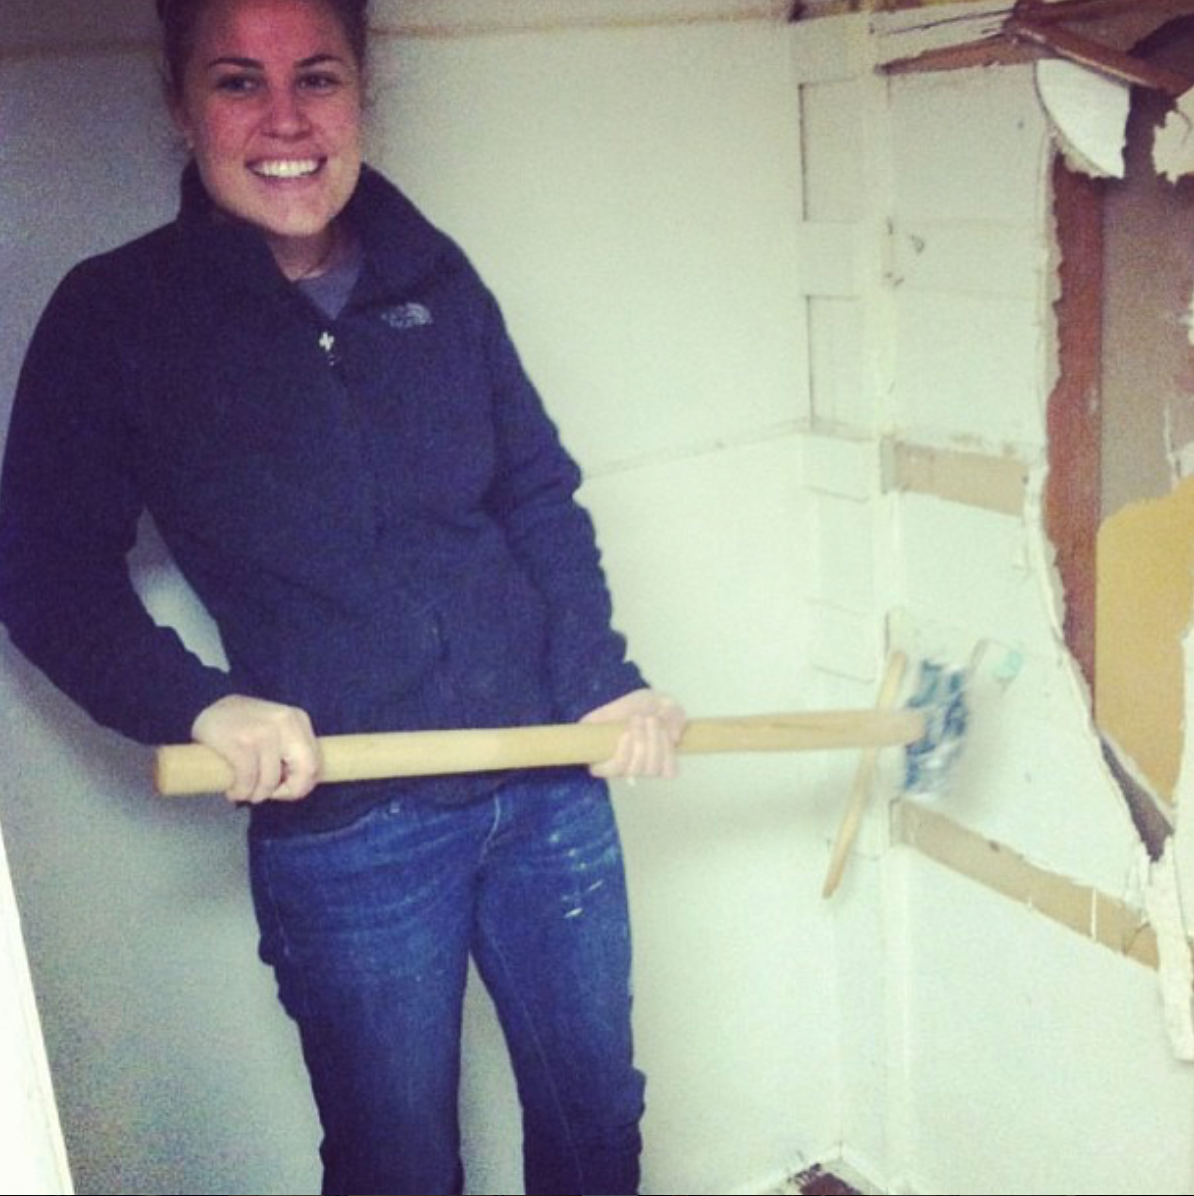
When I finally got a chance to investigate the unit once vacant, the ex-tenant's cats had definitely taken a toll on the subfloor in a few areas. Luckily the bad spots were within the bedrooms where the hardwood floors were missing. Along with making those repairs, I moved original baseboards out of areas like closets where they weren't being seen into areas that had been converted that you did actually see. In places that I ran out of original, I had Riccon Construction match it as best they could with modern materials (you couldn't tell unless you were looking for it).
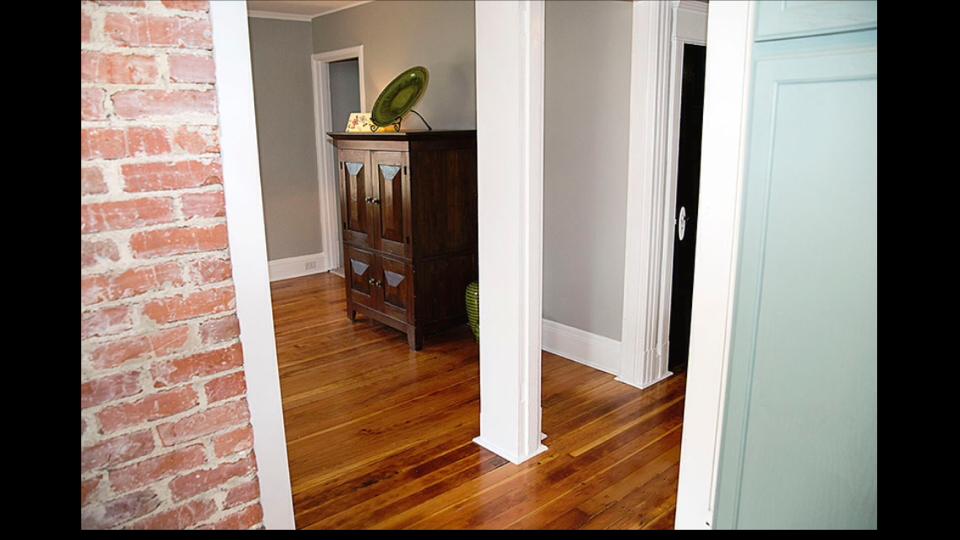
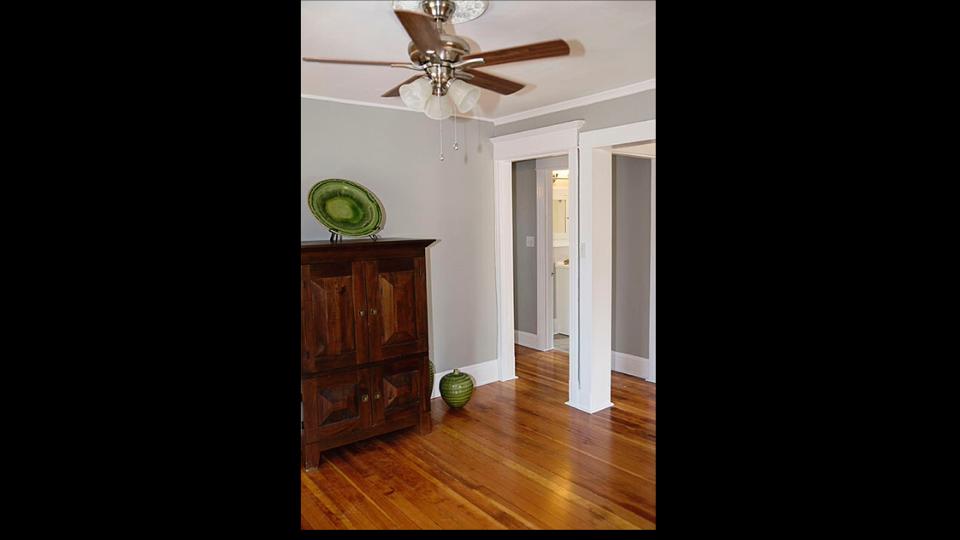
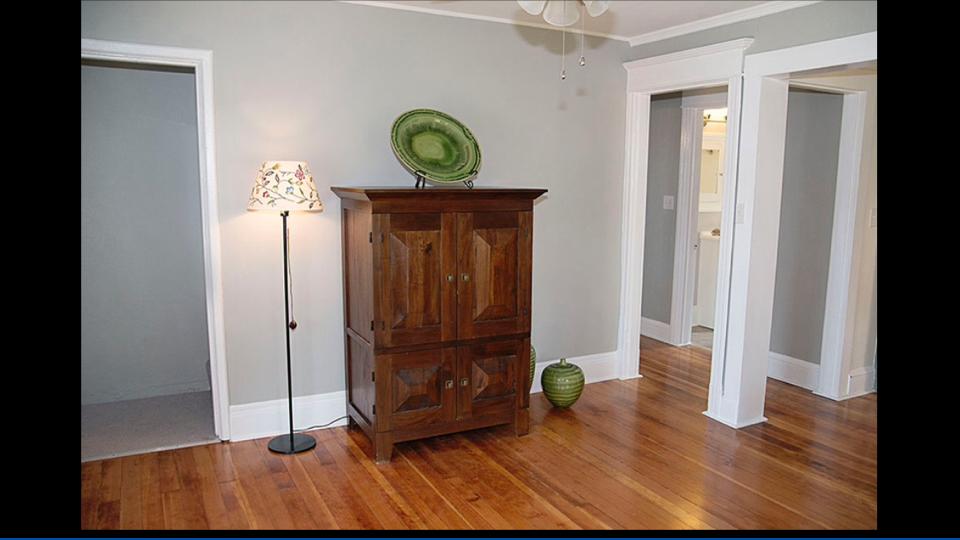
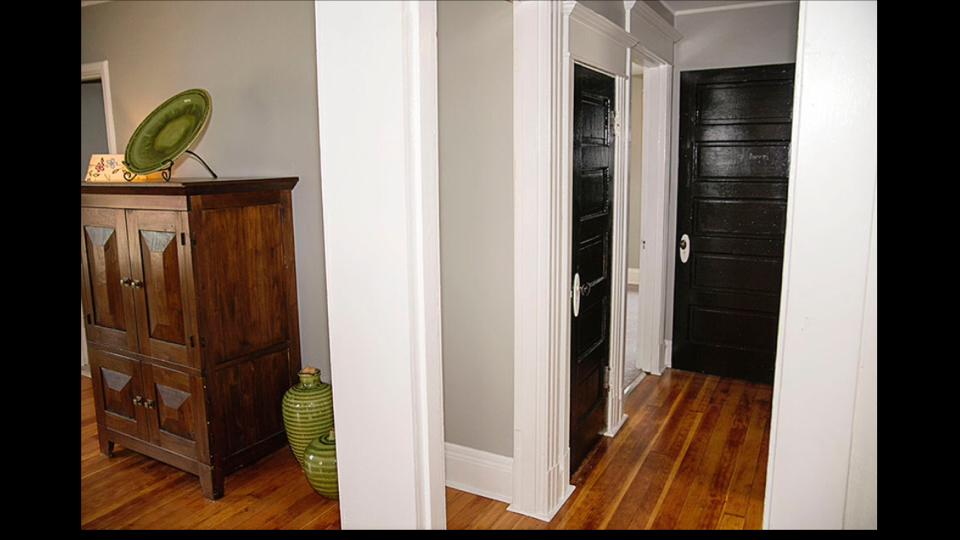
1905 douglas fir we restored in the main areas of Unit 3
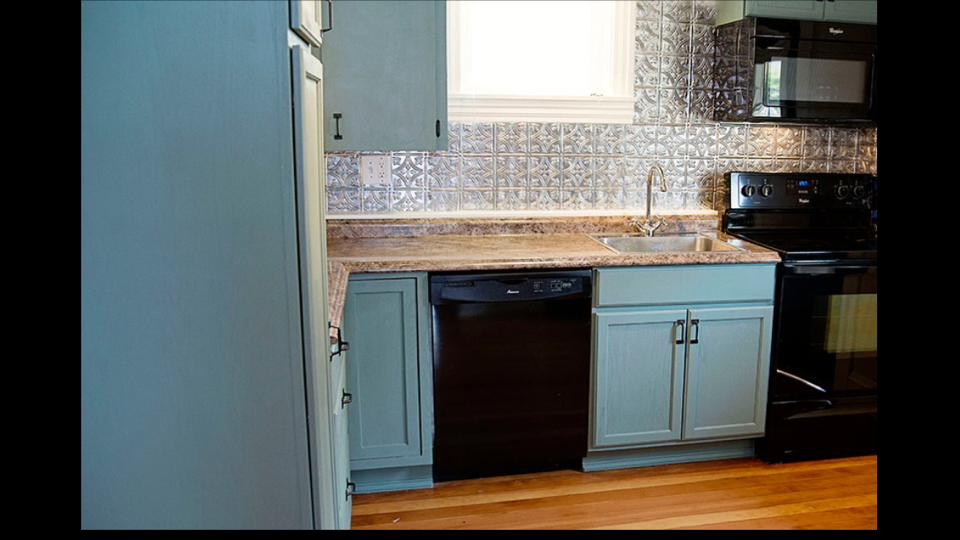
When we ripped out the laminate, the project manager from Riccon proposed changing the kitchen layout. At the time, the tenant had a portable dishwasher in the kitchen and it was clear that it was not functional or efficient. All the value I needed was was in that room - so I said, "let's do it.” We kept one OG upper cabinet and replaced the rest. If you haven't noticed I like mixing old and new - and I'm sentimental!
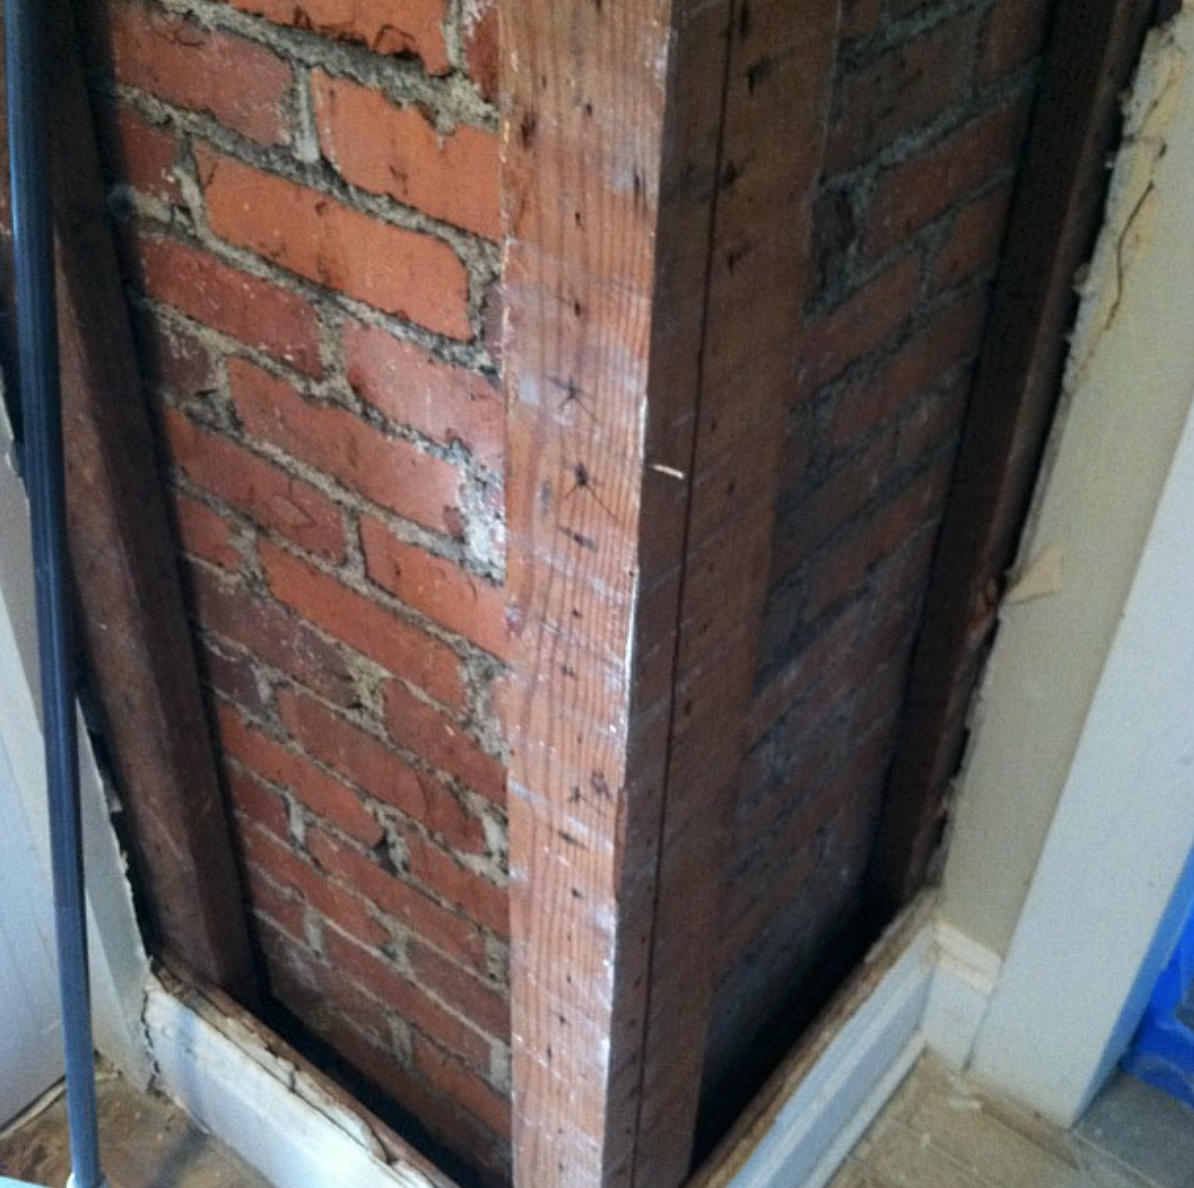
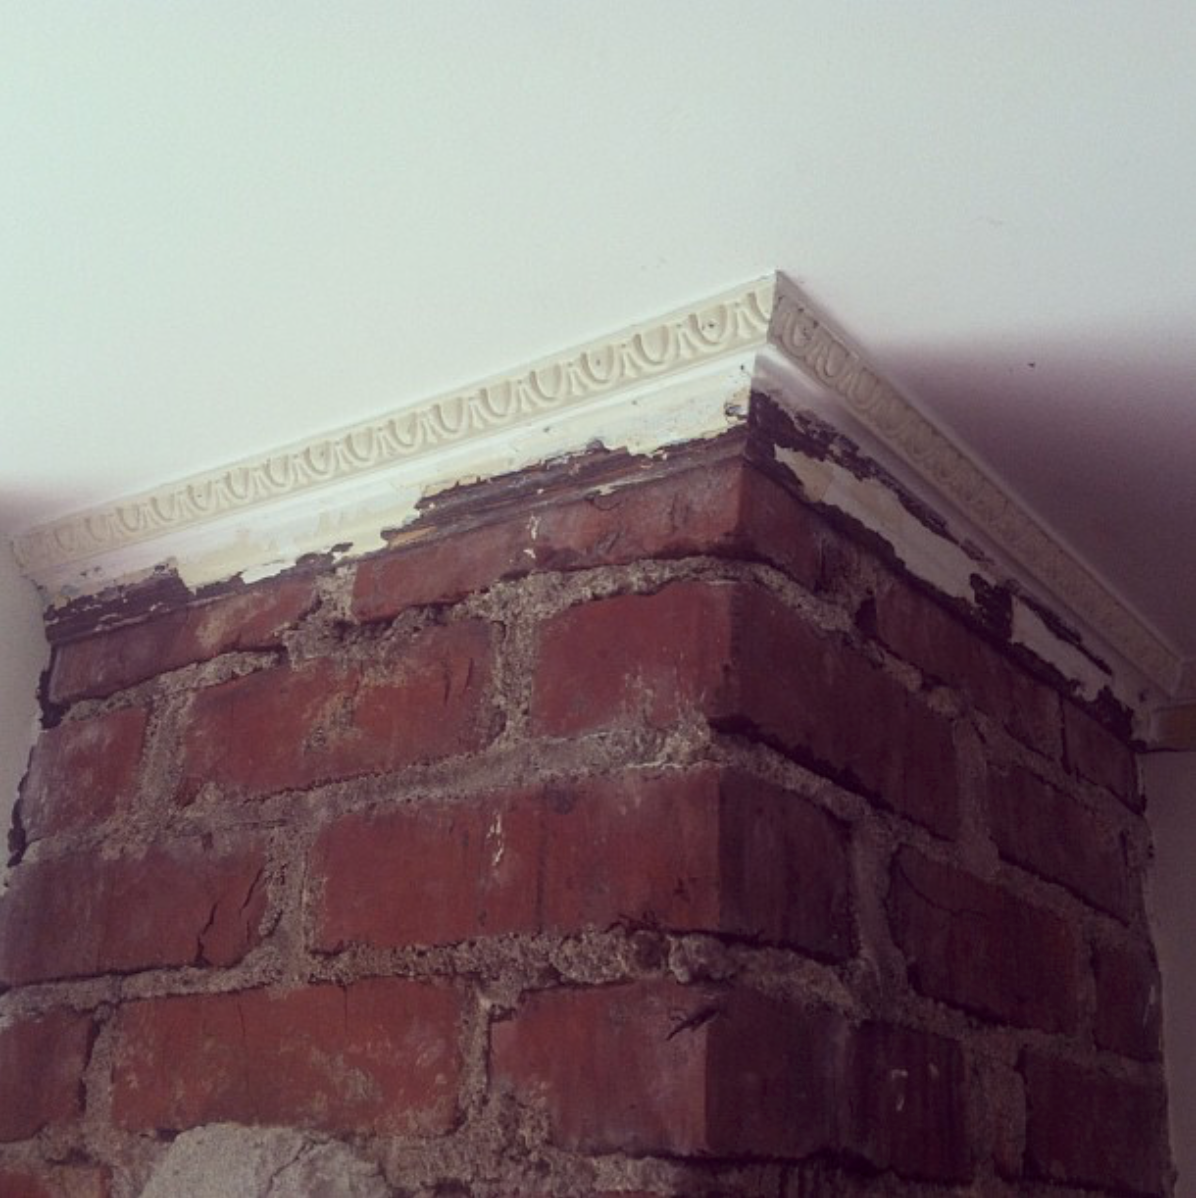
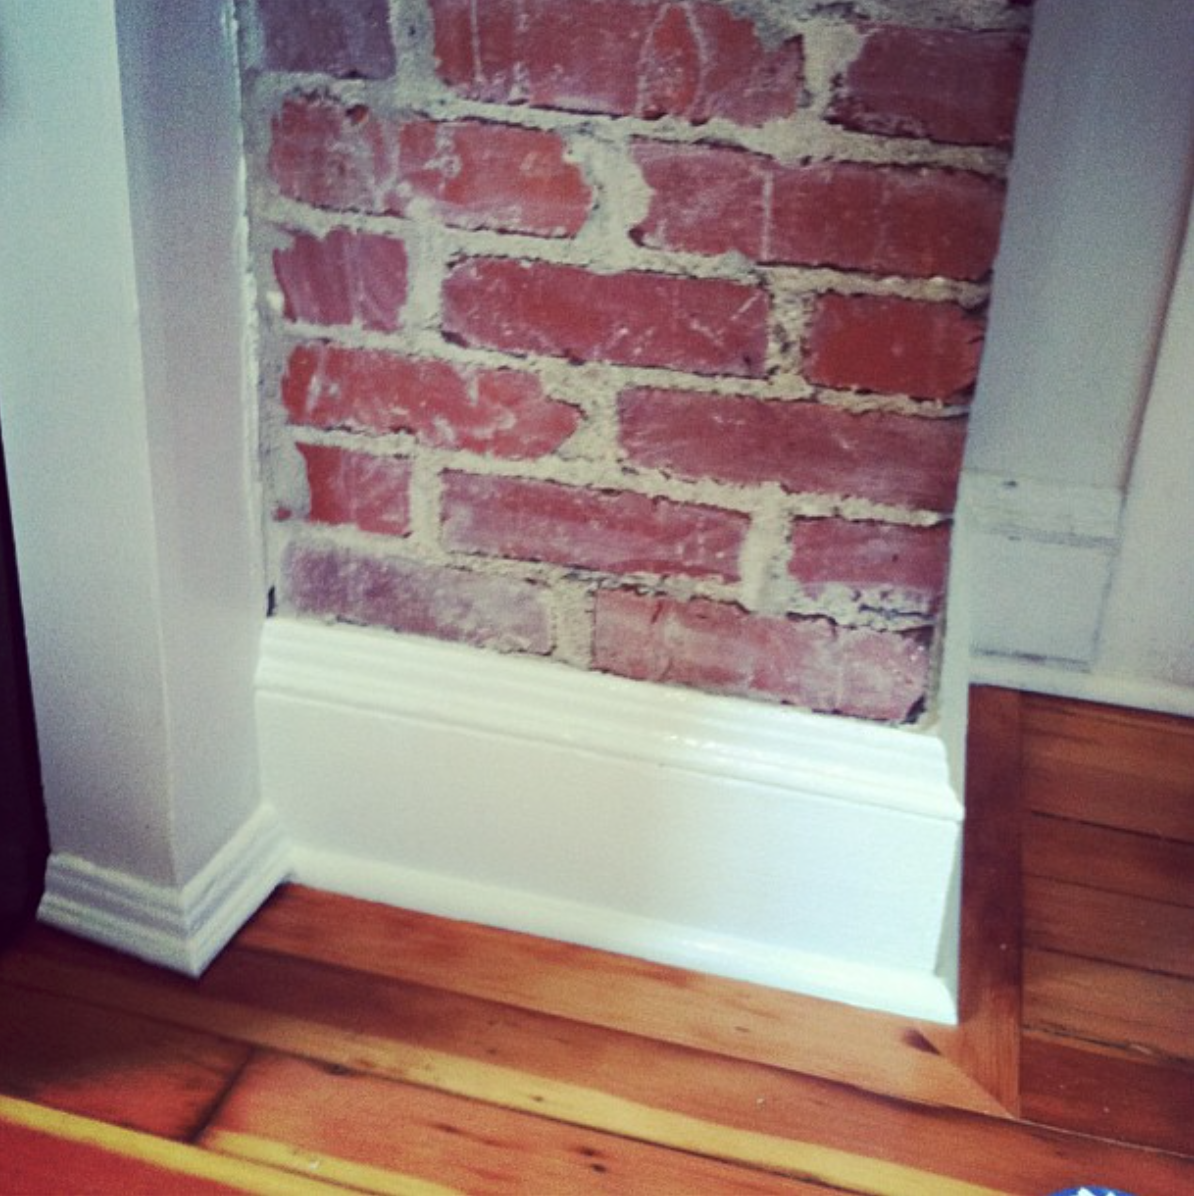
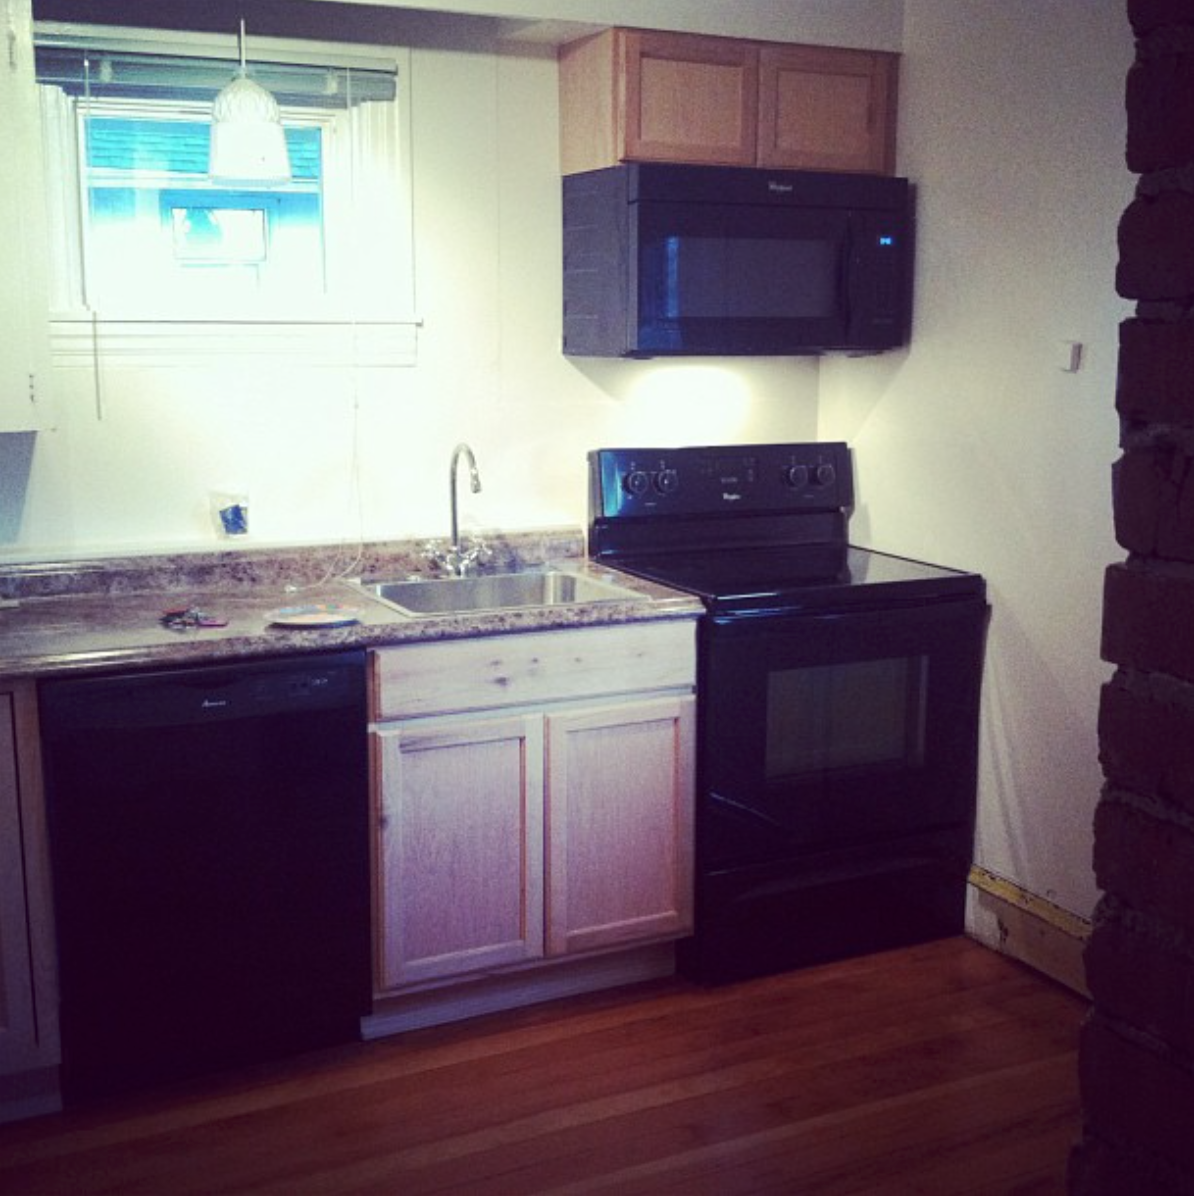
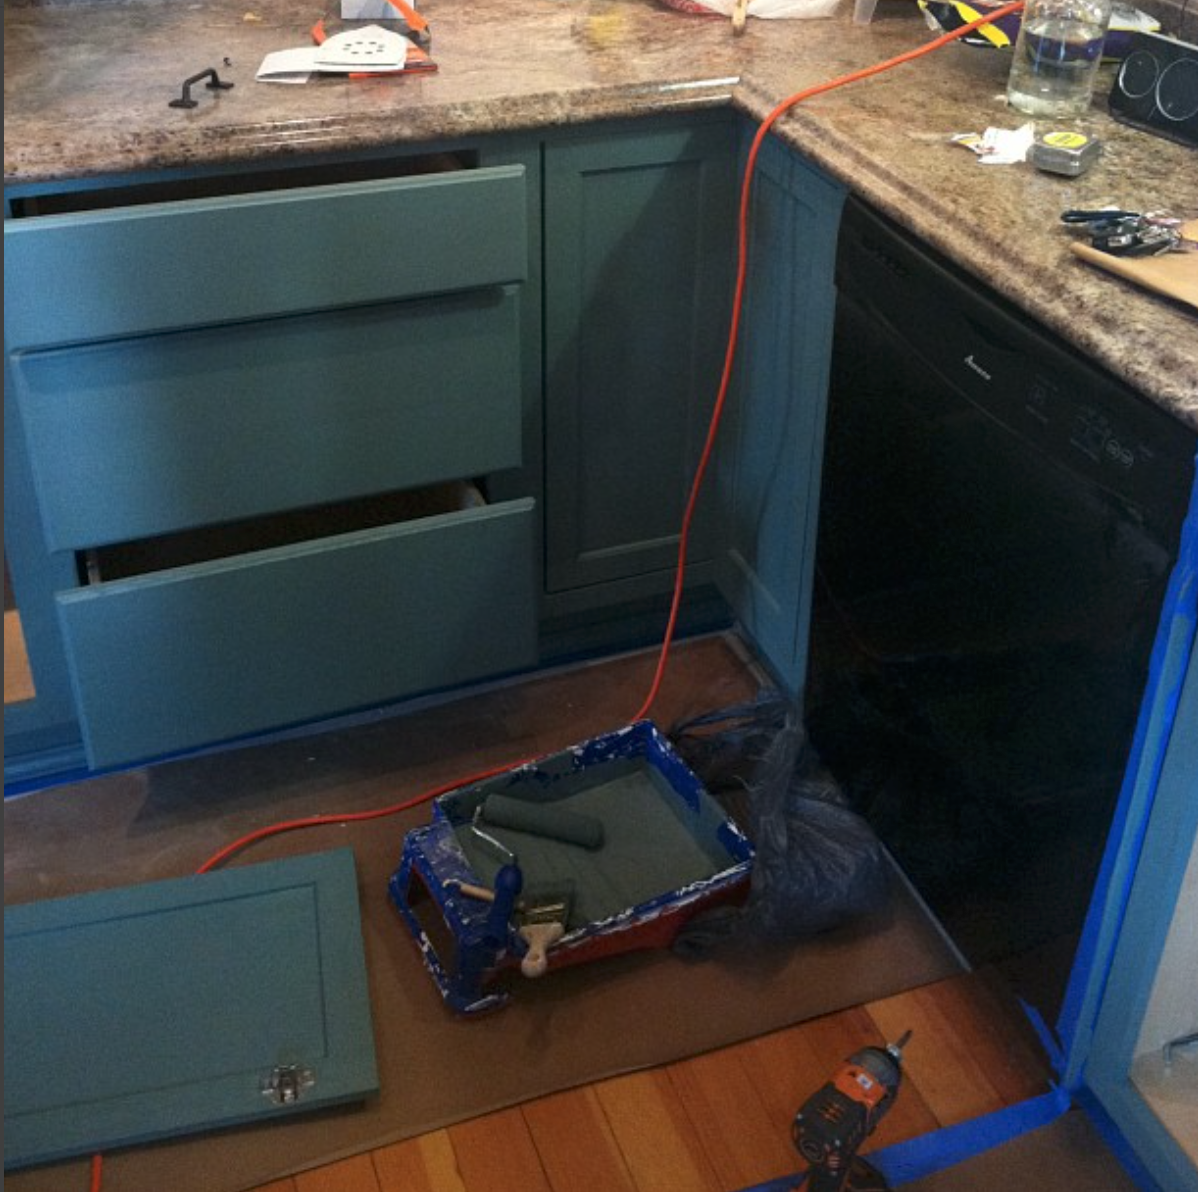
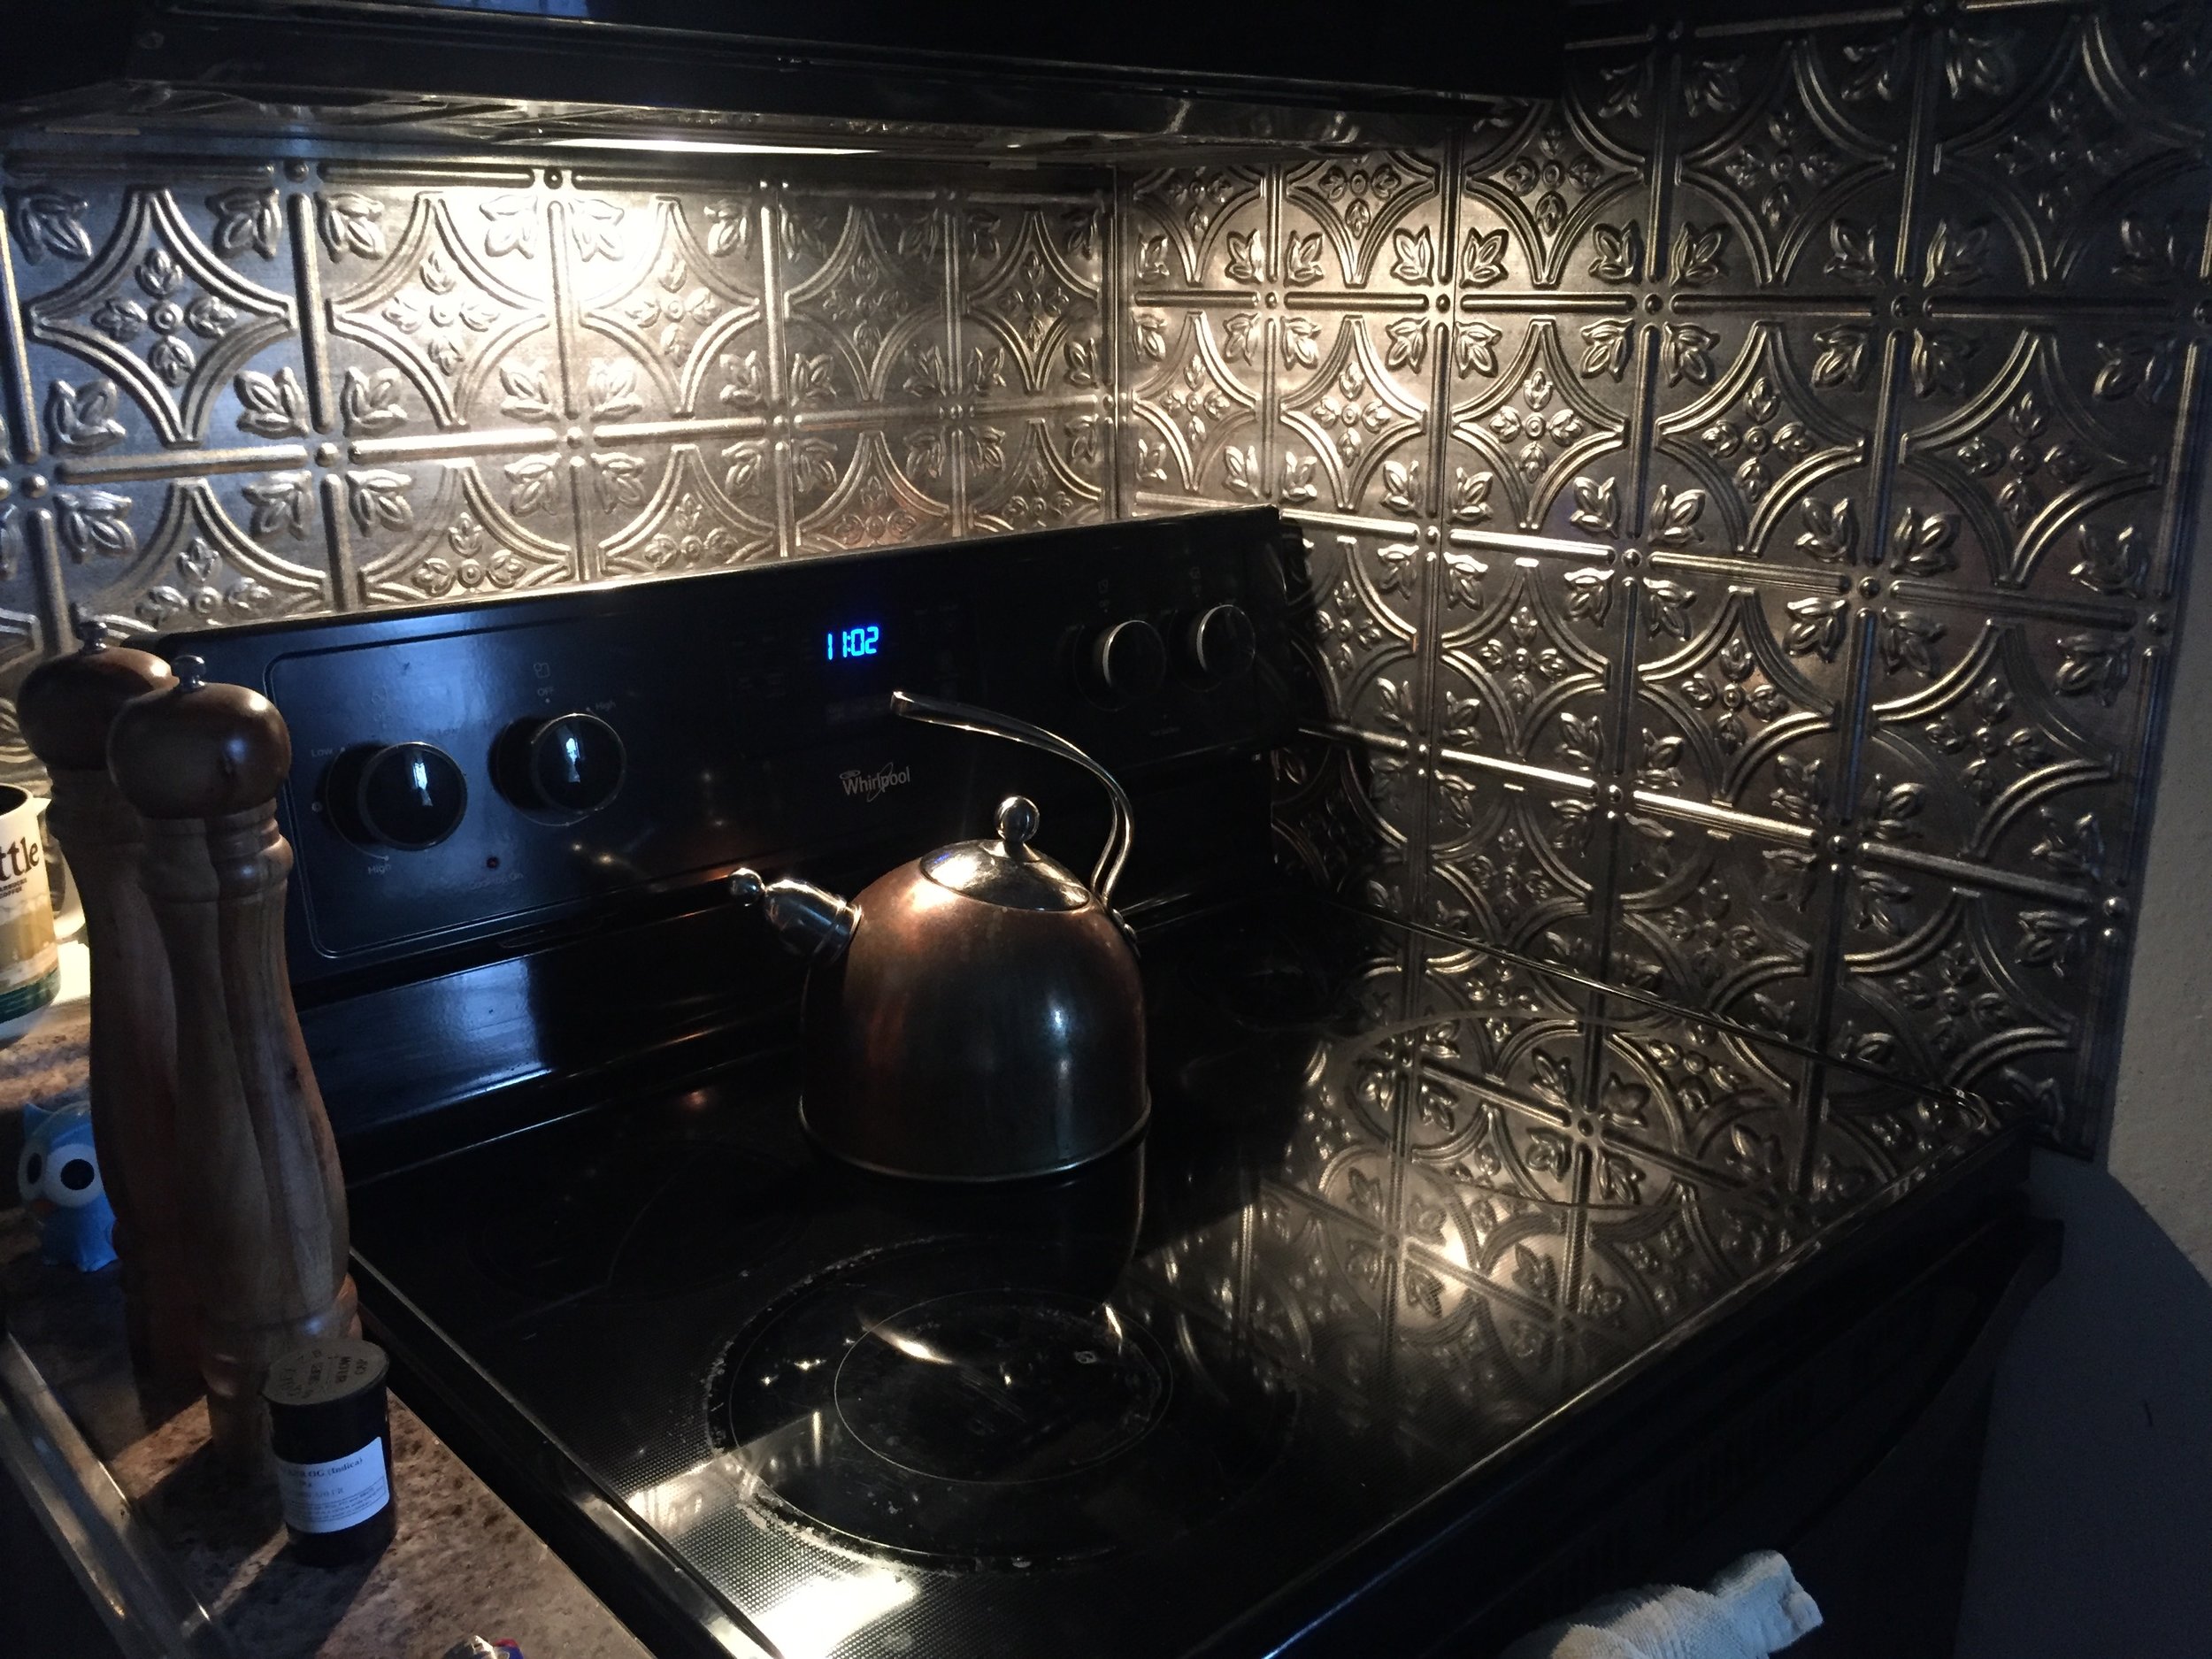
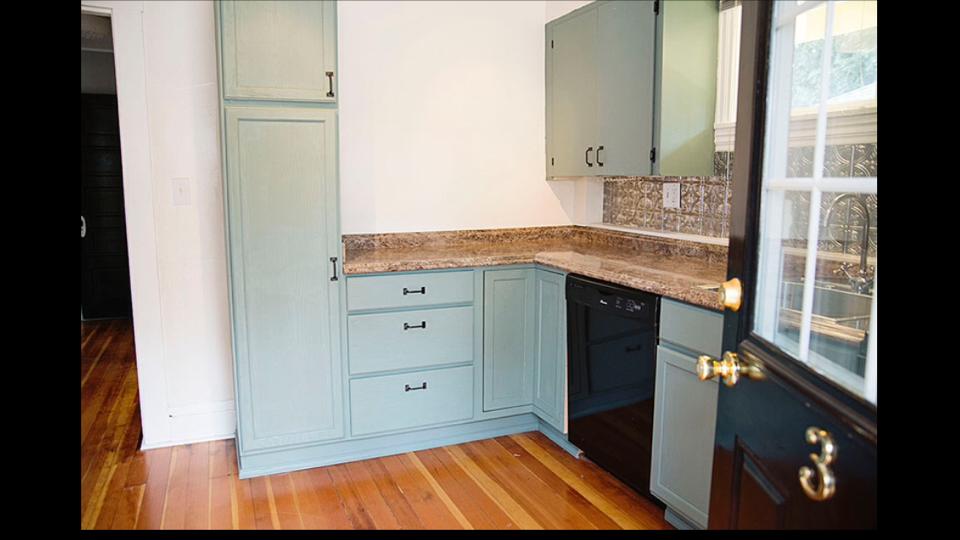

Every renovators dream is to accidentally run into some gorgeous brick - and I did! Obviously I had to expose it and we replaced all the original molding once it was cleaned up - the contrast is my favorite. We replaced and moved around the location of the appliances and added the dishwasher - I like the black appliances in a historic kitchen. I don't normally think dishwashers are too important but this is the biggest of all units- technically two bedrooms (and a finished attic space) so even though it is tight, I fit one in. Riccon installed the stock unfinished Home Depot cabinets (same in all three!) and I sanded + painted them the same color as the historic uppers in unit 2. It's a heritage blue by Valspar that I absolutely love. I included a tall pantry because, again, the house needed it in order to be functional. Sometimes you have to lean into practical things - especially when it's a rental. The laminate countertops are also the same style from unit 2's kitchen. I didn't want to splurge on recessed lighting so we did a large track light. A single sink and faucet from Ikea were very budget friendly and for the backsplash I found a faux tin tile that I installed myself an hour before the photographer came to take photos, haha. Lastly, I installed industrial (and cheap) hardware on the cabinets.


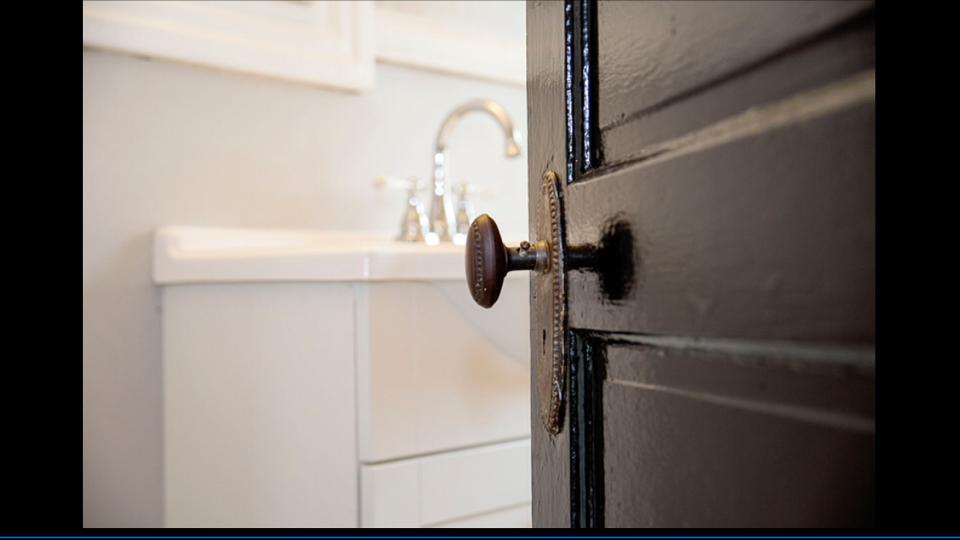
In the bathroom we had to completely replace the subfloor, bottom half of the drywall, and vanity. I used a vinyl stick tile with real grout, and replicated baseboards. One blessing in that old house was that all the replacement materials were adjusted to such a high quality product (Douglas fir wood, the thick large solid wood baseboards, plaster, etc.) so it allowed for saving money in the bathroom and helped significantly in the decision to add kitchen remodel to the project. The original door and medicine cabinet helped keep a classic feel - I kept it very clean and simple because of how small the space was.

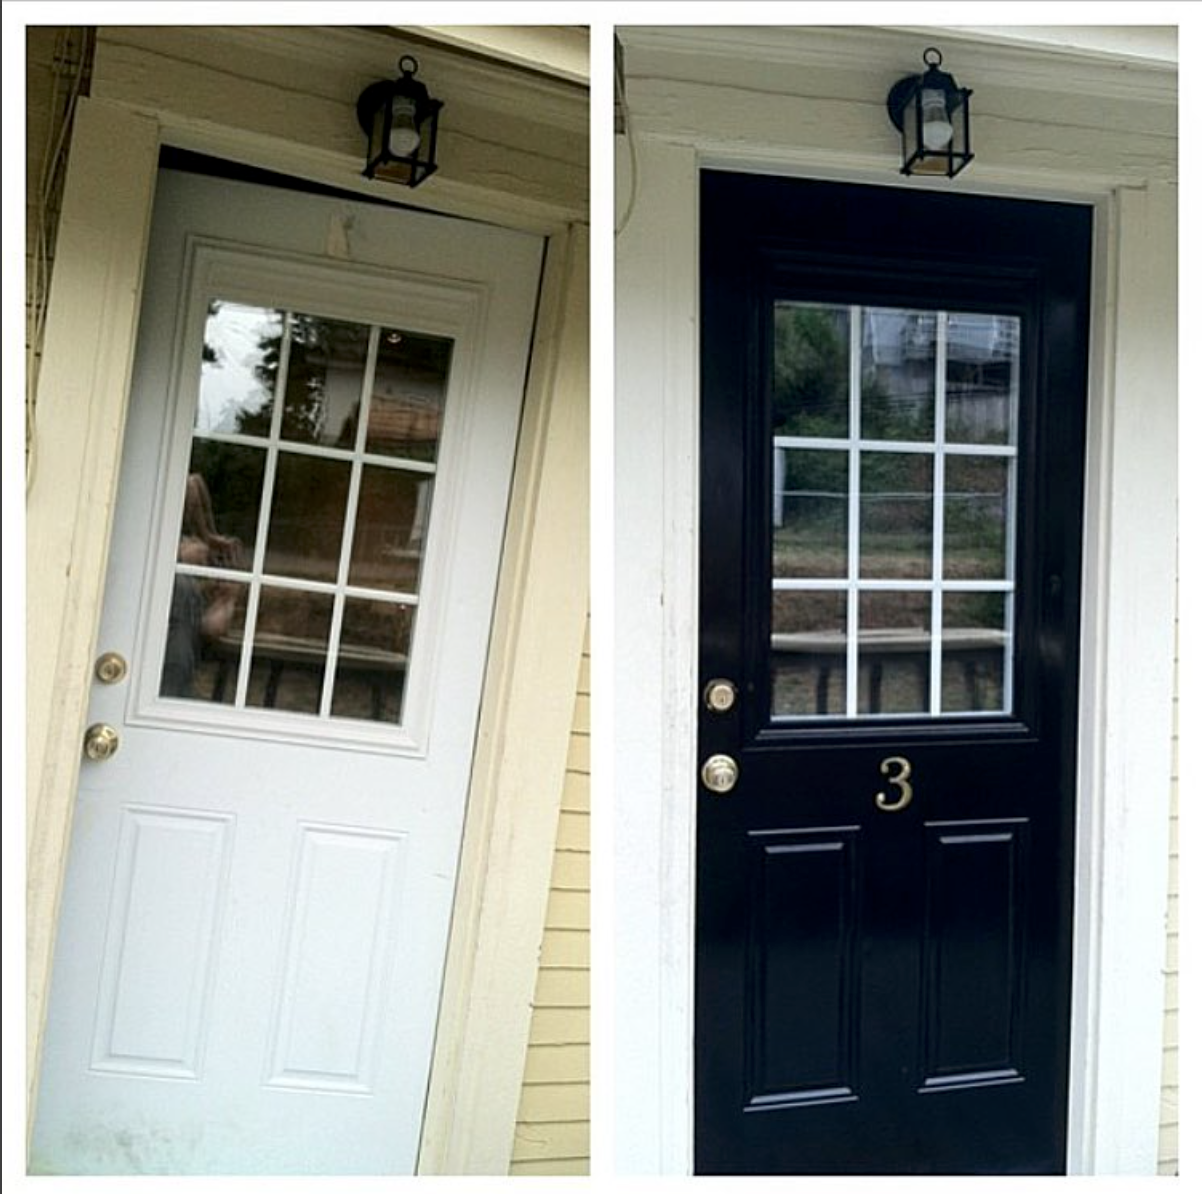
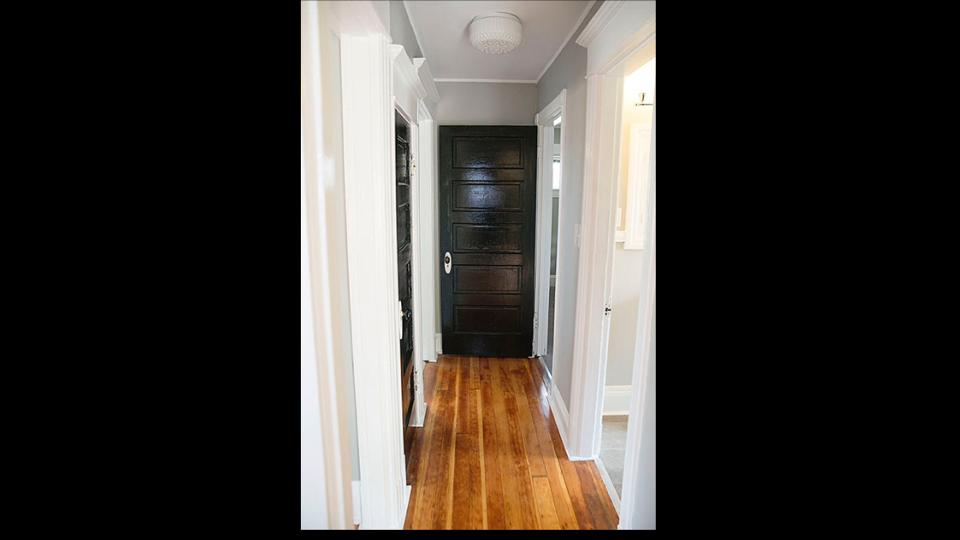
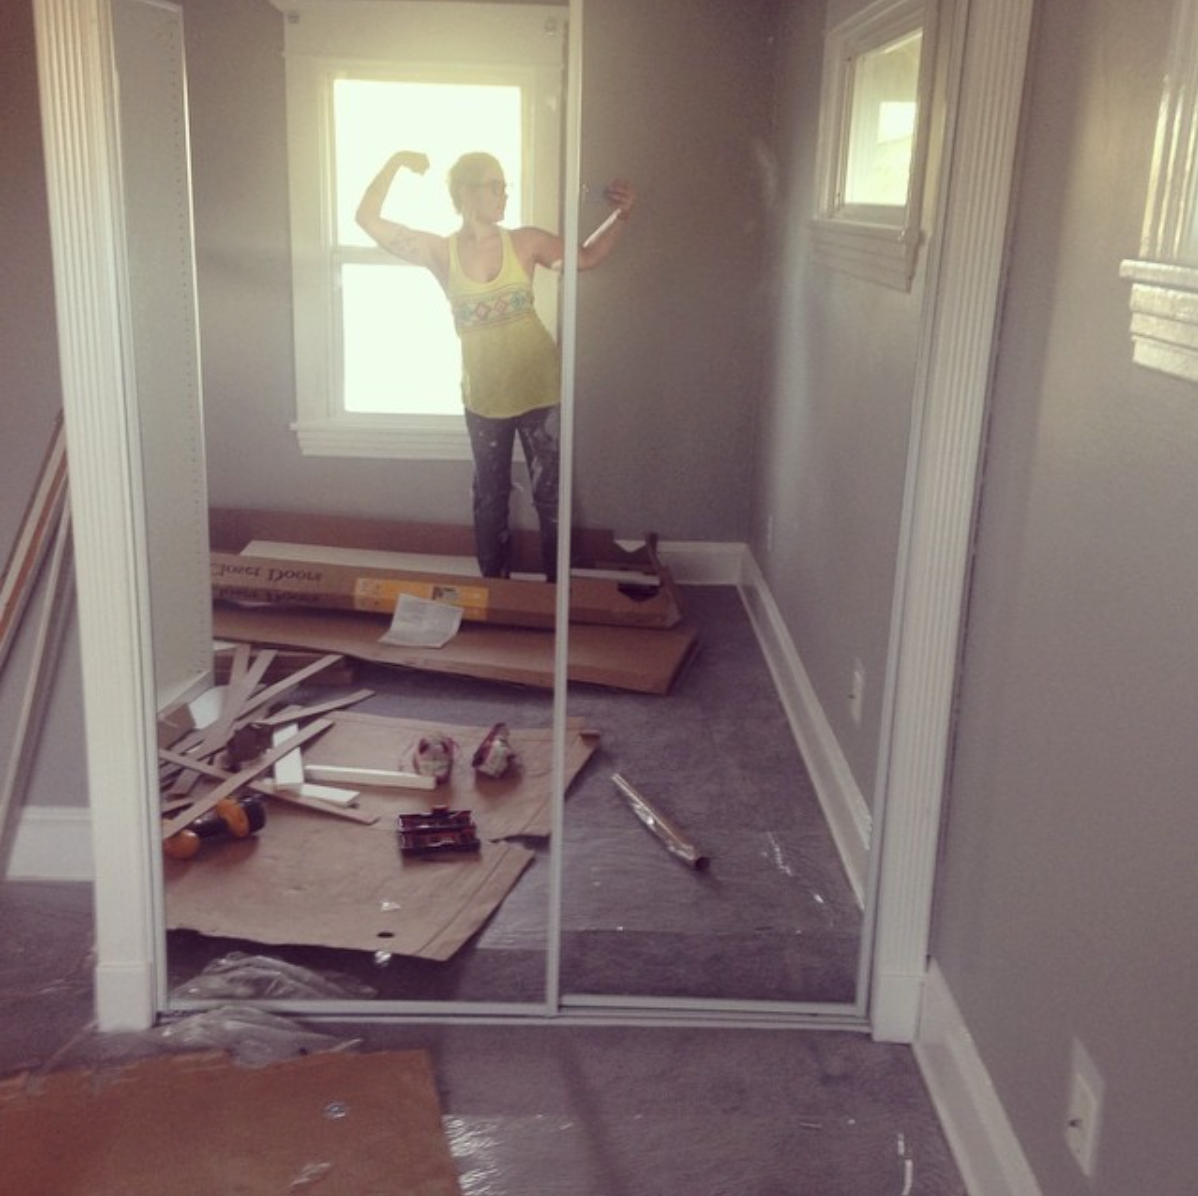
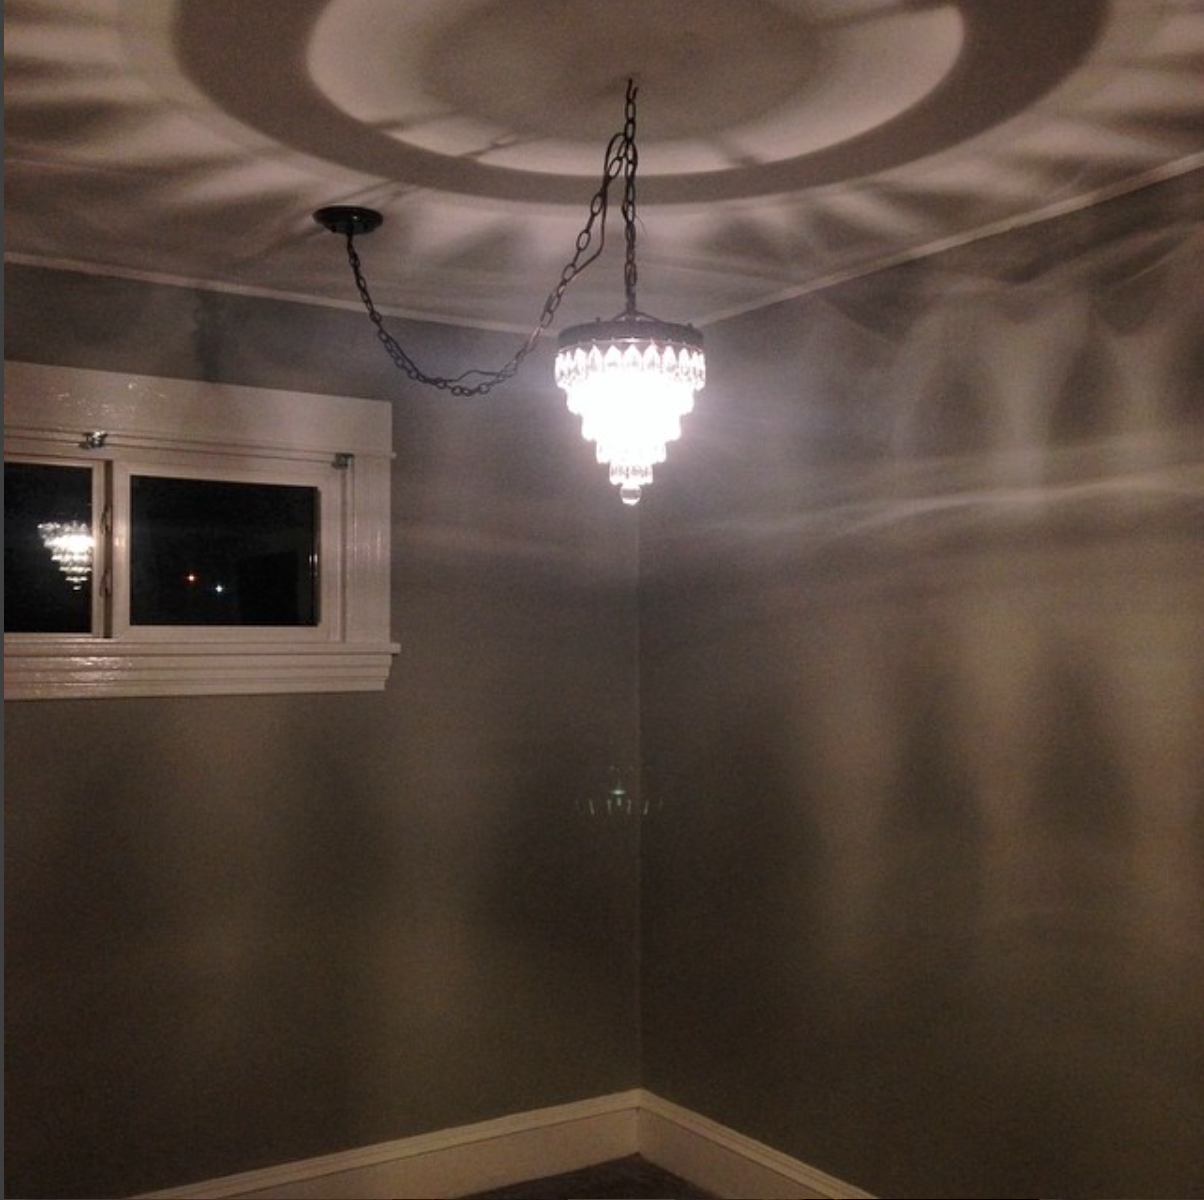
The original door and medicine cabinet helped keep a classic feel - I kept it very clean and simple because of how small the space was. After the needed structural repairs, kitchen, and bath were completed the rest was cosmetic. I painted all the doors black, the walls gray, and the trim a high gloss bright white. All of the ceilings had to be painted because everything was so dingy. If you have a small space - your ceilings should be a clean bright white! Also, I personally installed mirrored closet doors in the master and the reflection of the light brightened everything a lot, too! The carpets in the bedrooms and attic were replaced with a budget friendly gray carpet from Home Depot and I installed new lighting with ceiling medallions to add even more historic charm.
For the story book ending on this unit - Jared and Rachael decided to upgrade and move upstairs from the basement. They were more than happy to pay an increase in rent because of the extra space, higher ceilings, and more natural light. Oh, and no one above them! It's really the best unit of the house but photographs the worst - sorry!
Next week I'll wrap up this saga with a post about the laundry room, general landlording, and other ways to add value in a rental. As always, thank you for reading!
With gratitude, Lauren
